Whether you are installing a new lawn, transitioning grass types, or addressing issues with an existing lawn, there are landscaping best practices to adhere to when removing old grass and laying new turf. With careful planning, the right equipment, and a good plan of attack, installing new turf grass is simple and straightforward. Let’s dive in and go over how to lay a new lawn from the turf.
Process To Remove Old Grass And Lay New Turf
The process to remove old grass and lay new sod is a multistage process as per the following steps:
- Check the Current Lawn Condition
- Prepare the Lawn
- Mark Out Inground Obstacles
- Remove Existing Turf
- Add Additional Soil
- Lay New Sod
- Roll Ground
- Water the New Sod
Current Lawn Conditions
Before attempting to remove any old grass, it’s important to inspect the existing lawn. This will enable you to identify any underlying problems which could be an issue for your new lawn.
- Irrigation – It is key to test any irrigation system to ensure your lawn receives the right amount of water. With too little water, your lawn will wilt and die, and with too much water, your lawn will suffocate again, resulting in your lawn dying. The simplest way to monitor a lawn’s water content is to use an inexpensive soil moisture tester.
- Pest & Fungi – Check your lawn for any pests or fungi, as these issues will carry over to the new lawn unless treated. Pests and fungi will wreak havoc on your new lawn, compromising its health, which will ultimately defeat the purpose of replacing the lawn.
- Weeds – Excessive weeds in a lawn will cause the grass to suffocate and reduce the soil’s nutrient levels. All weeds need to be removed before installing new sod.
- Soil Condition – For lawn turf to thrive, the soil needs to fall into specific parameters, including nutrients, minerals, and drainage properties. To confirm soil condition, carry out a soil test and inspection.
- Grass Type – Grass type selection is divided into two categories: warm-season and cool-season. Ensure that the grass type you have or intend to use is suitable for your geographic zone.
- Grass Location – Consider the grass type in relation to the area’s foot traffic and available sunlight. Different grasses tolerate both of these factors differently. Choosing the wrong grass type for your yard’s conditions will result in an unhealthy lawn.
Preparation Before Removing The Old Grass
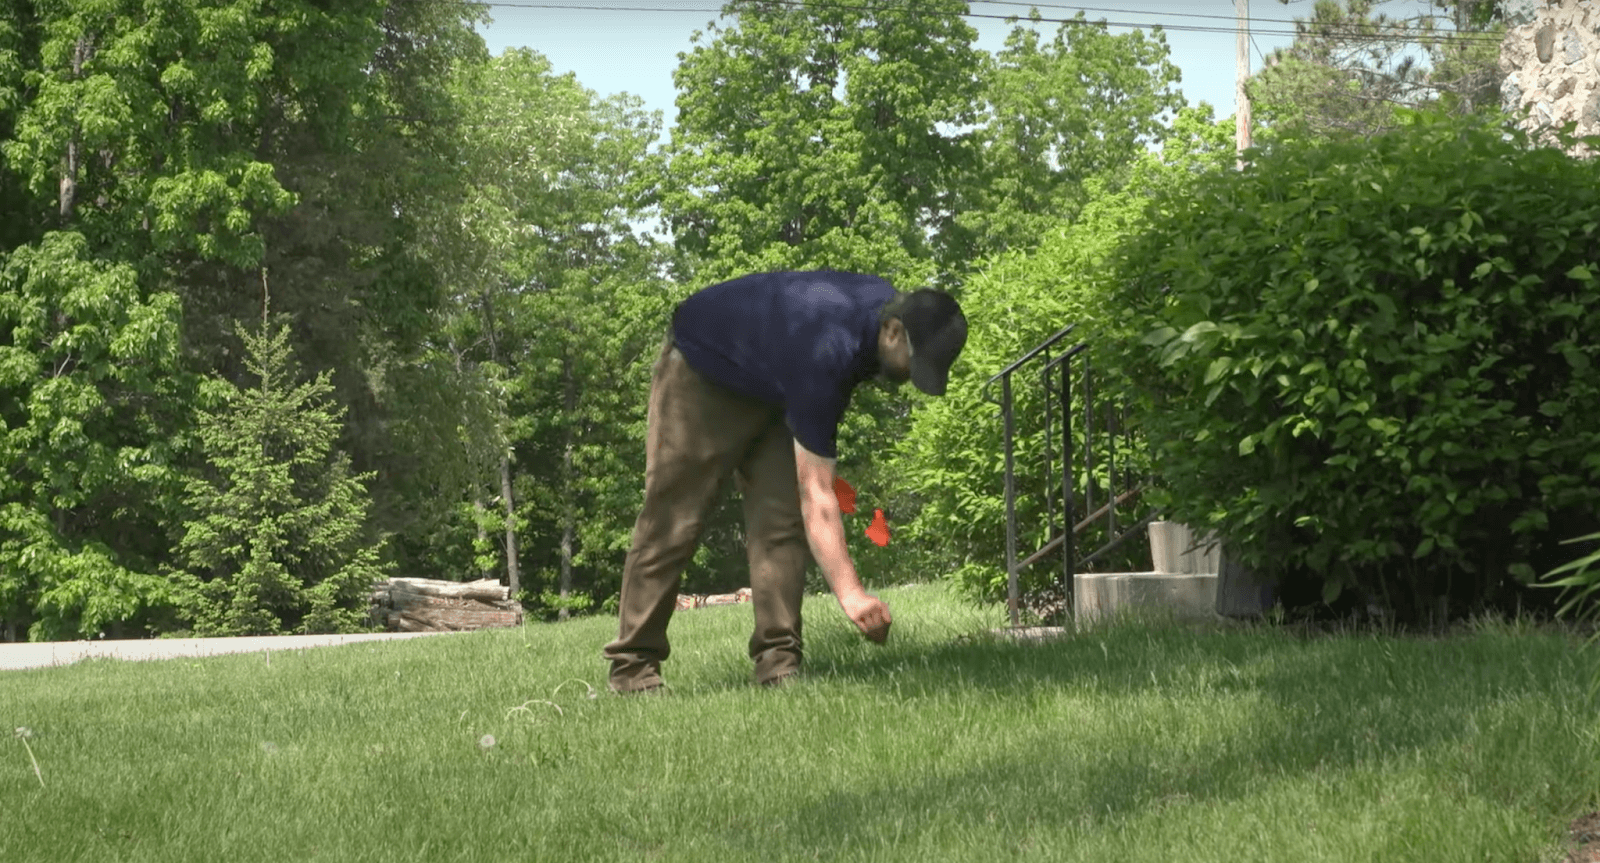
In preparation for laying turf, you first need to identify any hazards in the grass, such as water cut-off valves and electrical cables. In addition, you will need to identify the location of the plastic irrigation heads. Once you have located the inground services, you can identify them with a landscaping flag. Doing this will help to avoid these locations when cutting the sod.
6 Steps to Remove The Old Turf
Now, it is time to move on to the actual process of removing old turf. Here are the six steps to safely and successfully remove turf and the best way to remove grass for landscaping.
- Check Flags Are In Place
- Put on Safety Gear
- Set Up Sod Cutter
- Start Sod Cutter
- Being Cutting Sod
- Remove Cut Sod
- Manually Remove Turf From Flagged-off Areas
Step 1 – Check Landscape Flags
When you are ready to begin, make sure that all of the flags are still in place. You want to make sure that none have been pulled out or have gone missing, as this could lead to damaging the inground service, the sod cutter, and yourself.
Step 2 – Put on Safety Gear
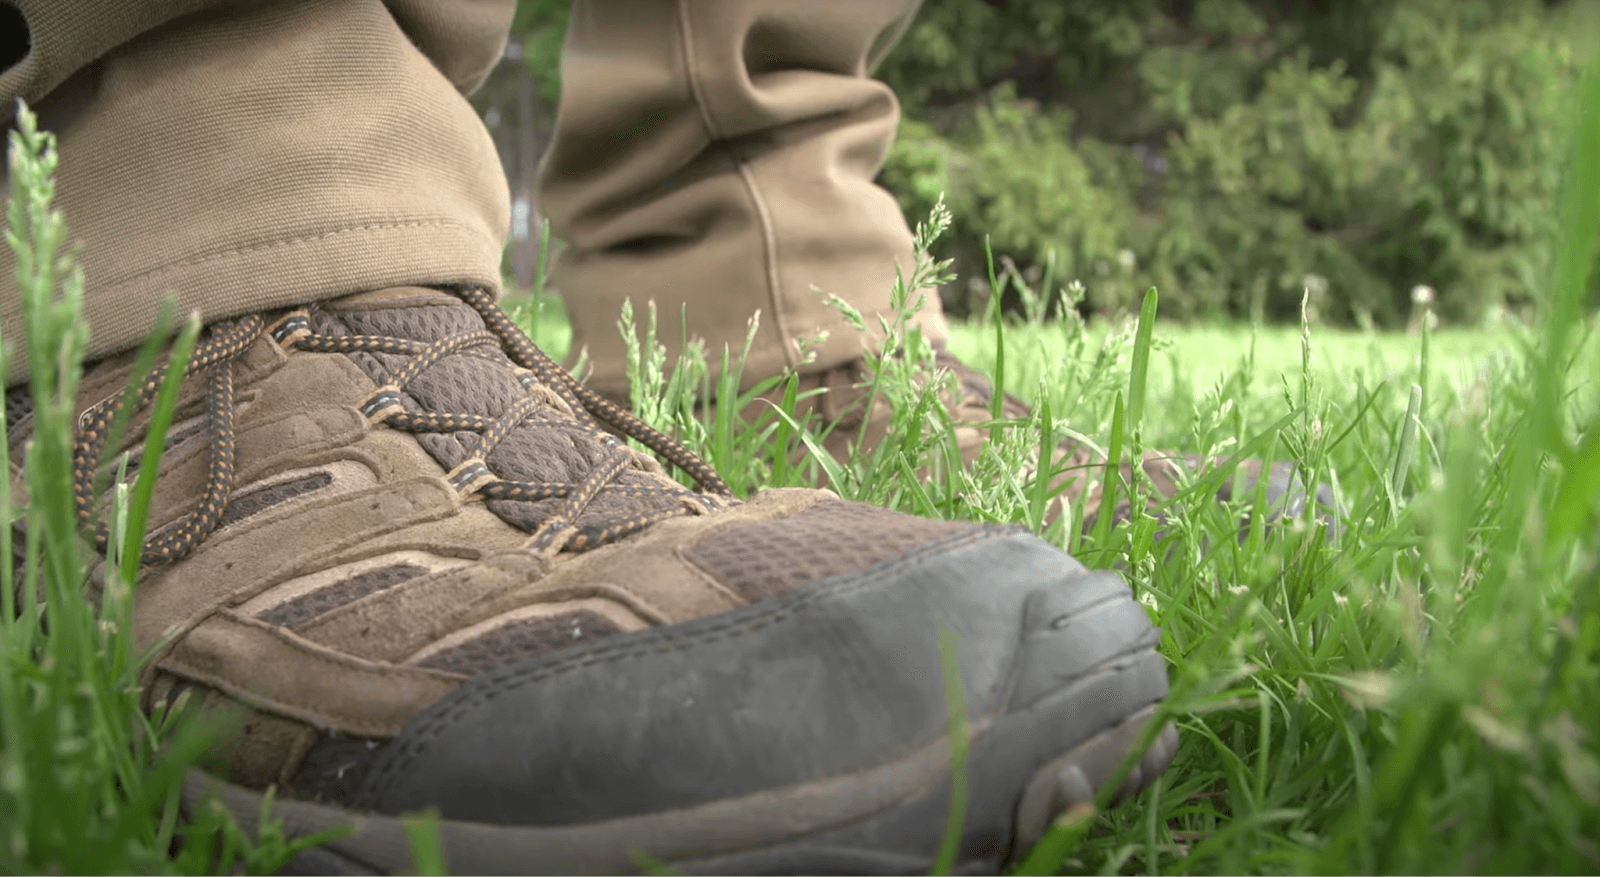
Next, you should put on your safety gear, including protective footwear, eyewear, and ear protection. Wearing protective gear is a key step before using any landscaping equipment.
Step 3 – Set Up The Sod Cutter
To start, you will need to set up the depth of the sod cutting. Here, you need to decide how deep the sod cutter blade will cut below the surface. Typically, allowing the sod cutter to cut 1-2 inches into the soil is sufficient to remove the old turf while keeping it in one piece. If you are unsure, you can conduct a series of tests to confirm a fitting depth.
Step 4 – Start Sod Cutter
To begin cutting sod, you will need to follow the starting procedure of your particular grass removal machine. Typically, it’s a simple process of turning the cutter on, choking the engine, setting the throttle, and pulling the recoil starter. Once the engine is running, you can turn off the choke and increase the throttle.
Step 5 – Begin Cutting Sod
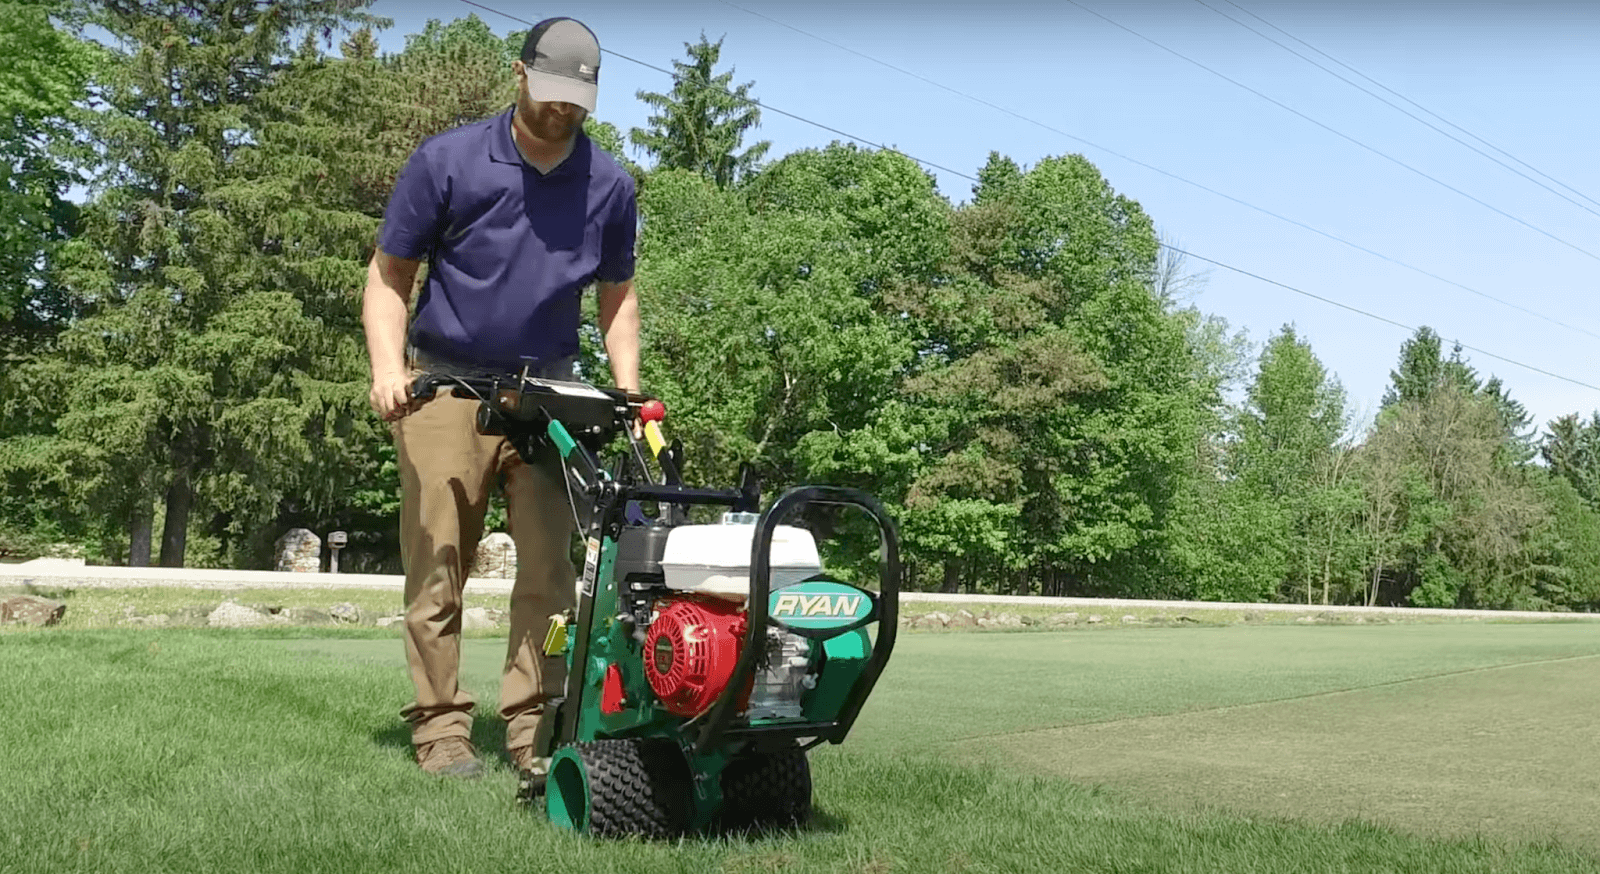
Once you have your sod cutter running, it is time to release the brake and apply pressure to the drive level. This will set the sod cutter into motion and begin cutting the old turf. I recommend taking a few laps around the perimeter of the lawn first, followed by a series of back-and-forth passes up and down your lawn in the same pattern as you would when mowing. Once you have finished cutting the sod, turn off the engine and set the machine to one side.
Step 6 – Remove Cut Sod
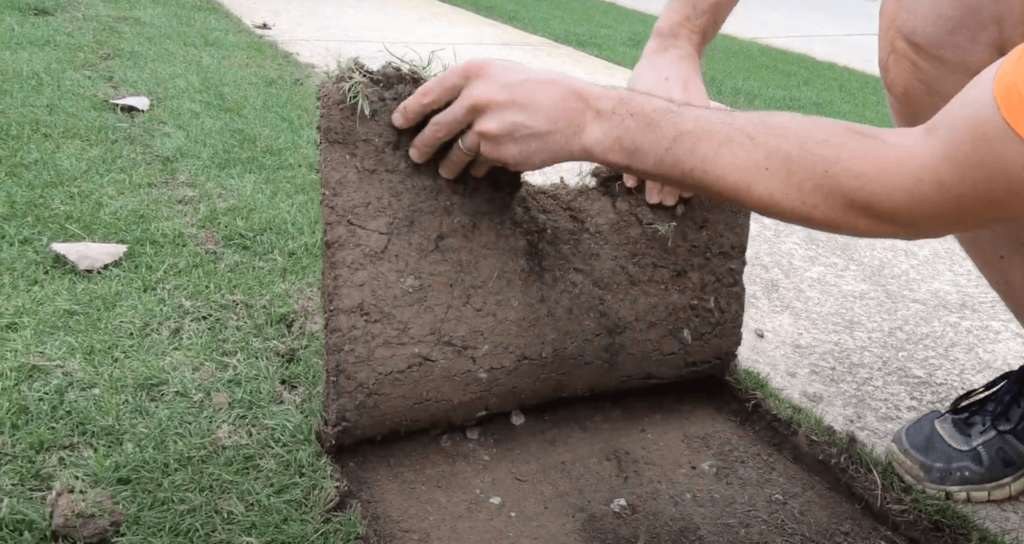
Next is the process of removing the cut sod from the lawn to expose the soil underneath. To do this, you can lift the loose sod and discard it to one side. To make this easier, I recommend cutting the strips of sod into short lengths to make the material more manageable to handle.
Step 7 – Manually Remove Turf From Flagged Off Aeras
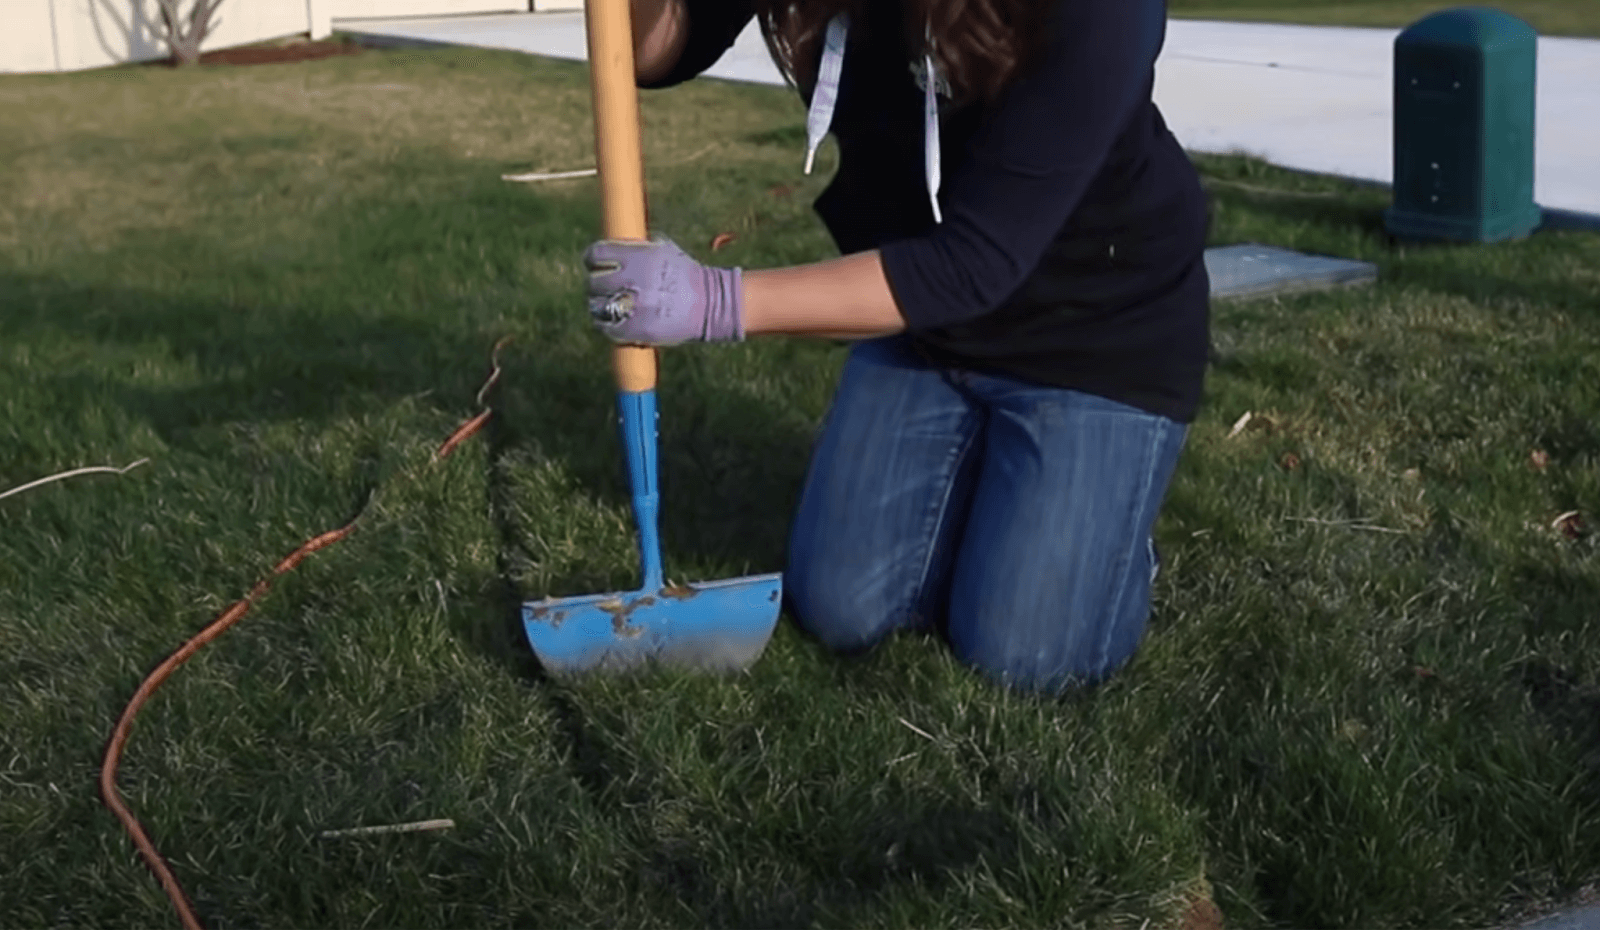
The final stage is to return to the flagged-off areas and manually remove the uncut turf. The simplest way to do this is to use a flat-edged spade or hand-held edger and cut at a horizontal angle. You will use the hand-held tool to cut through the soil the same way as the sod cutter would.
Preparation For The New Turf
With the old sod removed, you will need to do a series of steps before laying the new sod. Here is a closer look at the preparation process.
– Soil Preparation
During the sod-cutting process, a large volume of soil is removed, causing a fair amount of soil disturbance. To level soil before laying turf, you may need to add extra soil and rake the ground to an even finish. However, it is important to remember that the new sod comes with some soil. Therefore, do not add too much soil, as this will raise the level of the lawn, which could affect things like irrigation heads.
– Turf Selection
If you are unsure as to what turf to use for your new lawn, then it is recommended to contact your local sod or landscaping supplier. Typically, these suppliers only provide appropriate sod specific to the region. Also, you can discuss your specific needs with sod experts ensuring you select the best suitable grass type.
– Getting the Turf (Ordering)
You can order sod from large box stores like Home Depot or Lowe’s or from local suppliers or sod farmers. For the best quality sod and the most competitive prices, I recommend purchasing your new sod from local suppliers or sod farmers. Sod purchased from a local supplier will spend less time sitting on a pallet after harvesting than the sod found at box stores. Unfortunately, sod from box stores tends to be over-stressed and damaged even before it arrives on your property. Choosing a local sod supplier will reduce the cost of laying turf as there will be significantly less sod that will need replacing.
6 Steps to Laying The New Turf
Now it’s time to take a closer look at how to lay new turf once you have removed the old grass. Here are the six steps to successfully installing a new turf lawn.
Step 1 – Lay Sod in Stagger Pattern
The first step is to lay the turf out in a staggered pattern, similar to laying bricks. Ideally, you can start on the outer edge of the lawn to reduce the need for any small gaps between hard surfaces and the new sod.

Step 2 – Trim Sod Edges
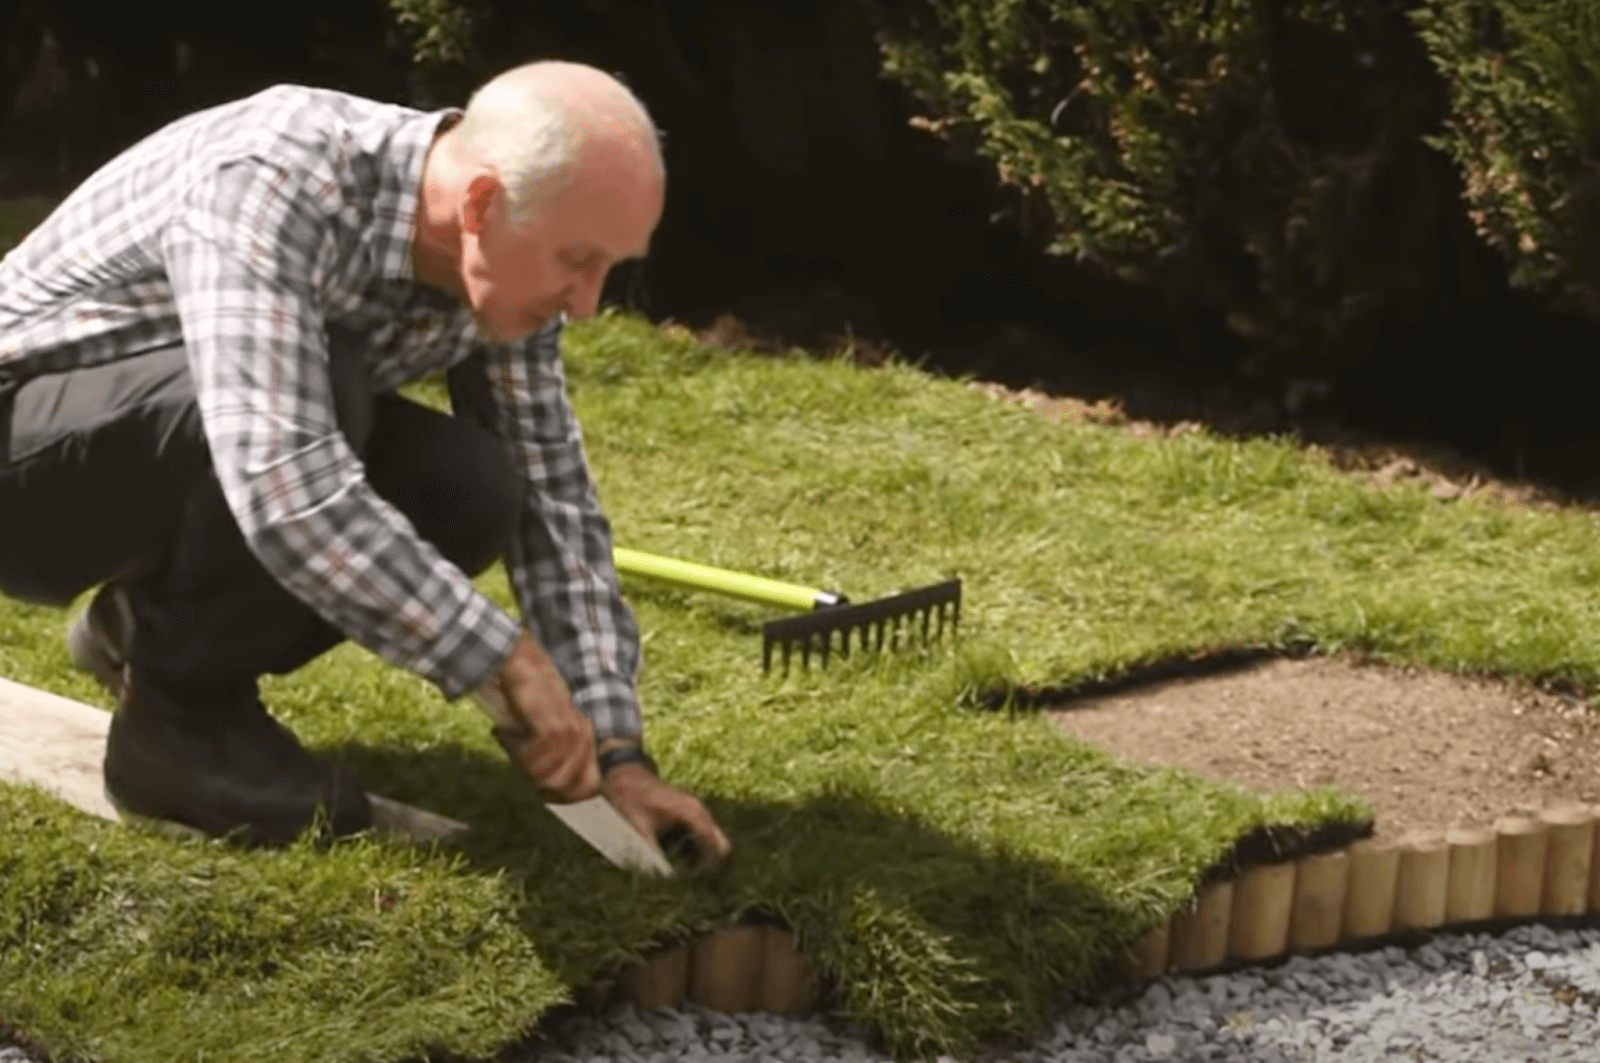
Once you have the sod laid out, it is then time to go back and trim off the overhanging turf. You can do this using a sharp knife.
Step 3 – Cut Around Obstacles
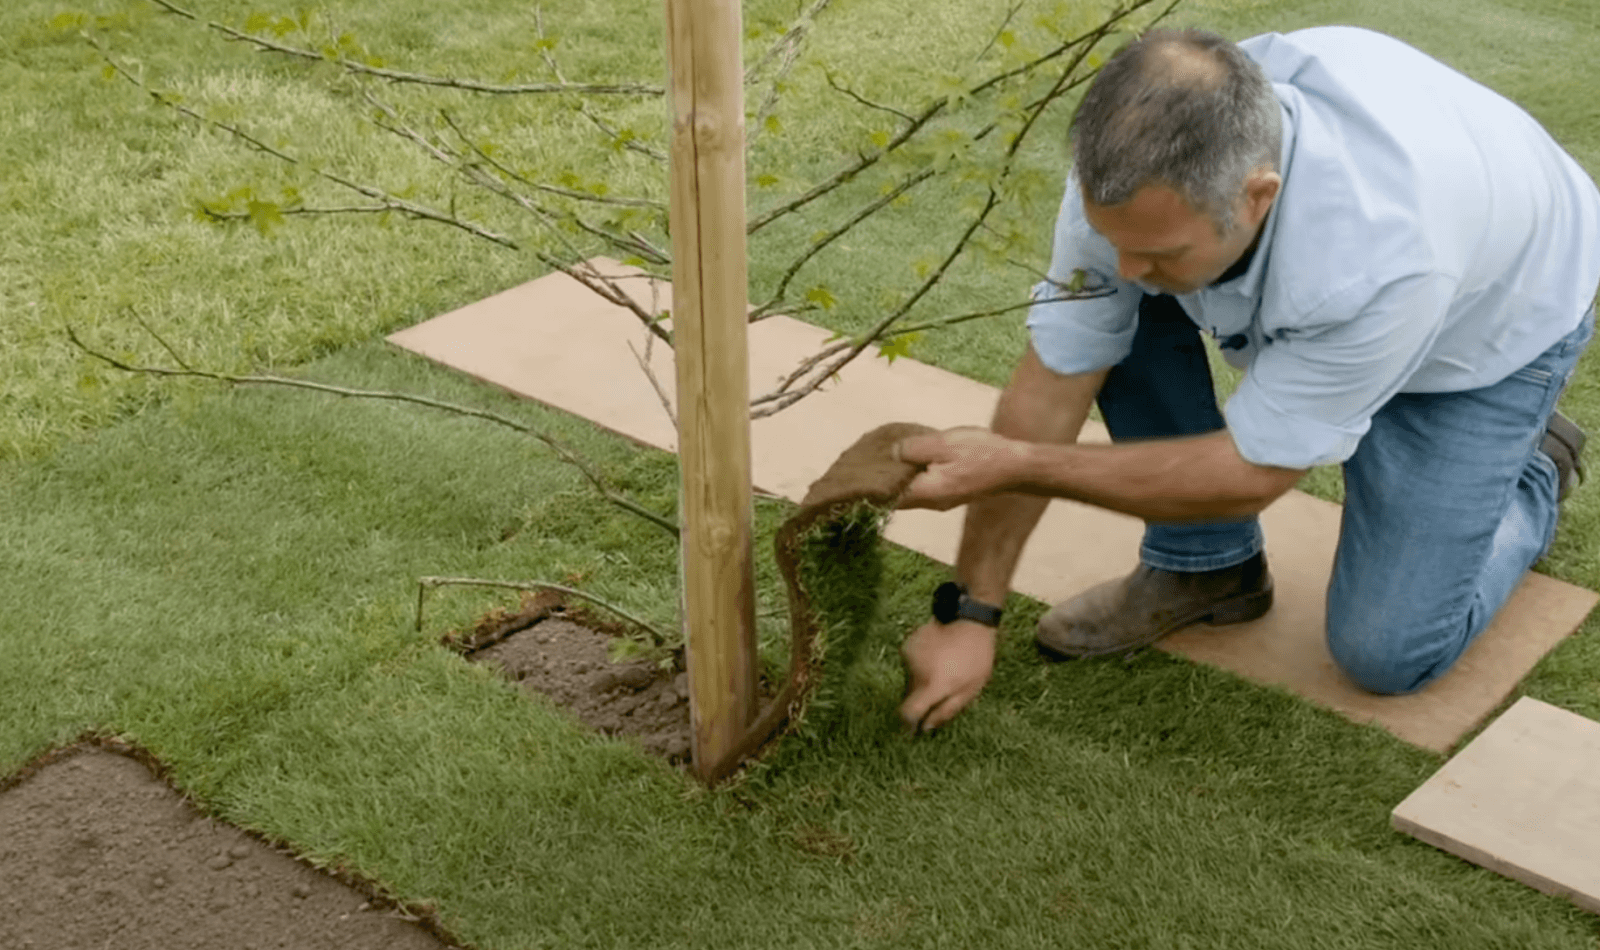
Now, you can clean up the areas around irrigation heads, trees, patio slabs, and flower beds. As before, rip the turf back to clean the overhang.
Step 4 – Roll the Lawn
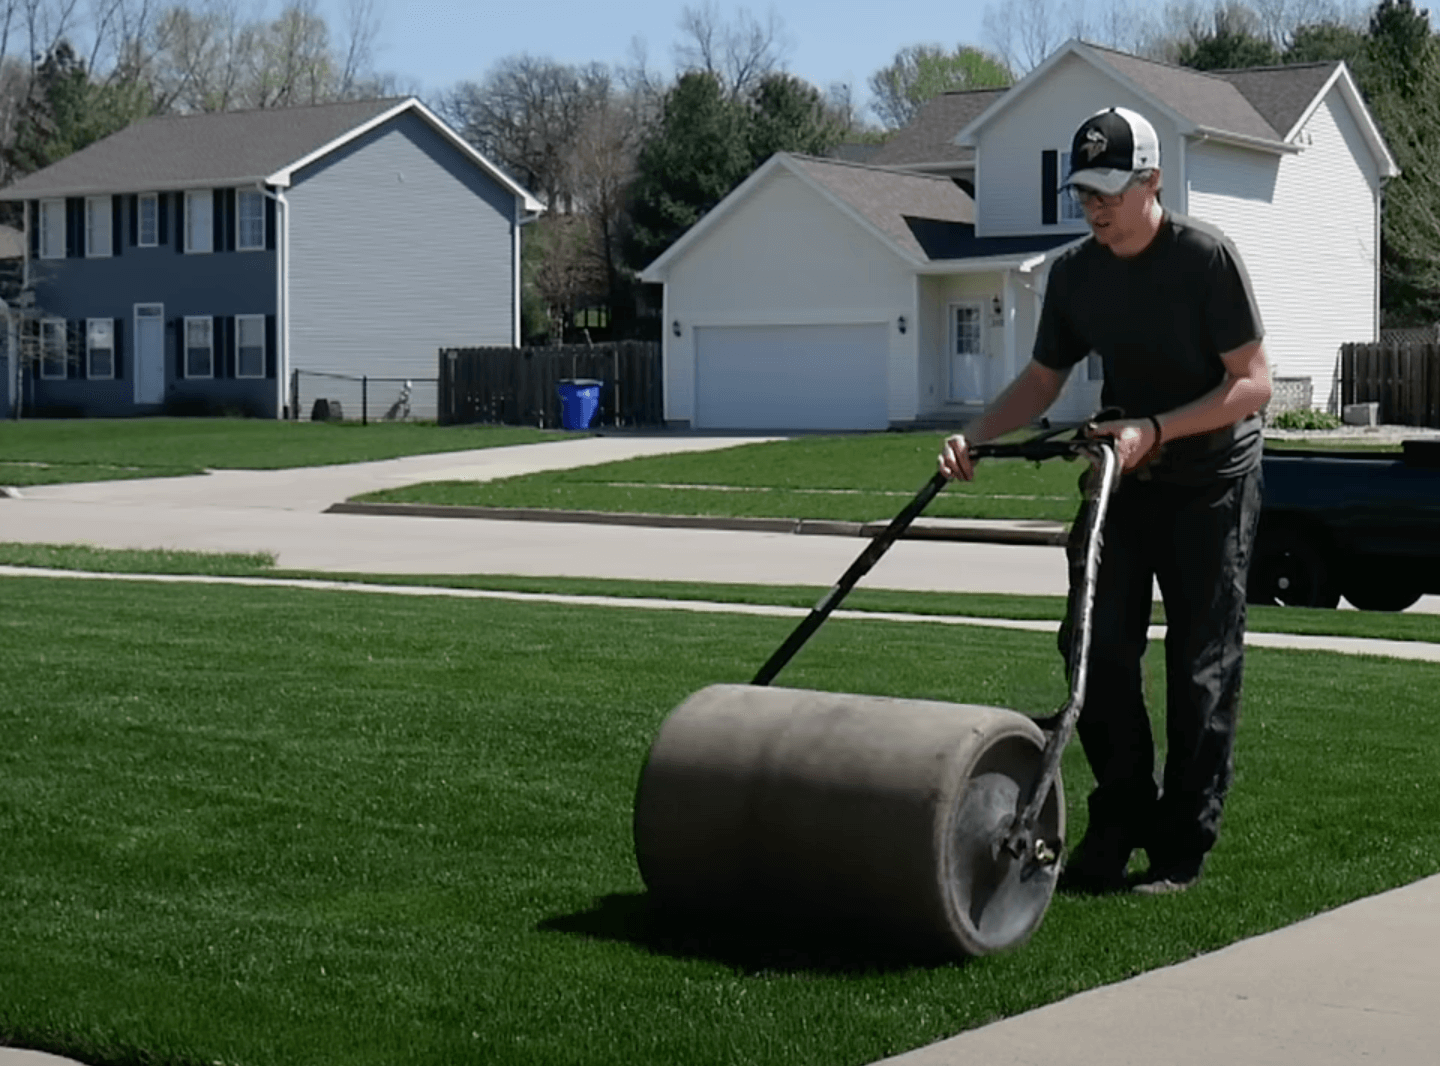
Once you have finished laying down all the sod, it is time to remove any air pockets from beneath the sod. Depending on your specific grass type, you may be able to do this by simply watering or using a roller. It is advised to contact your local supplier and ask for their recommendation as rolling can damage some newly laid turfs.
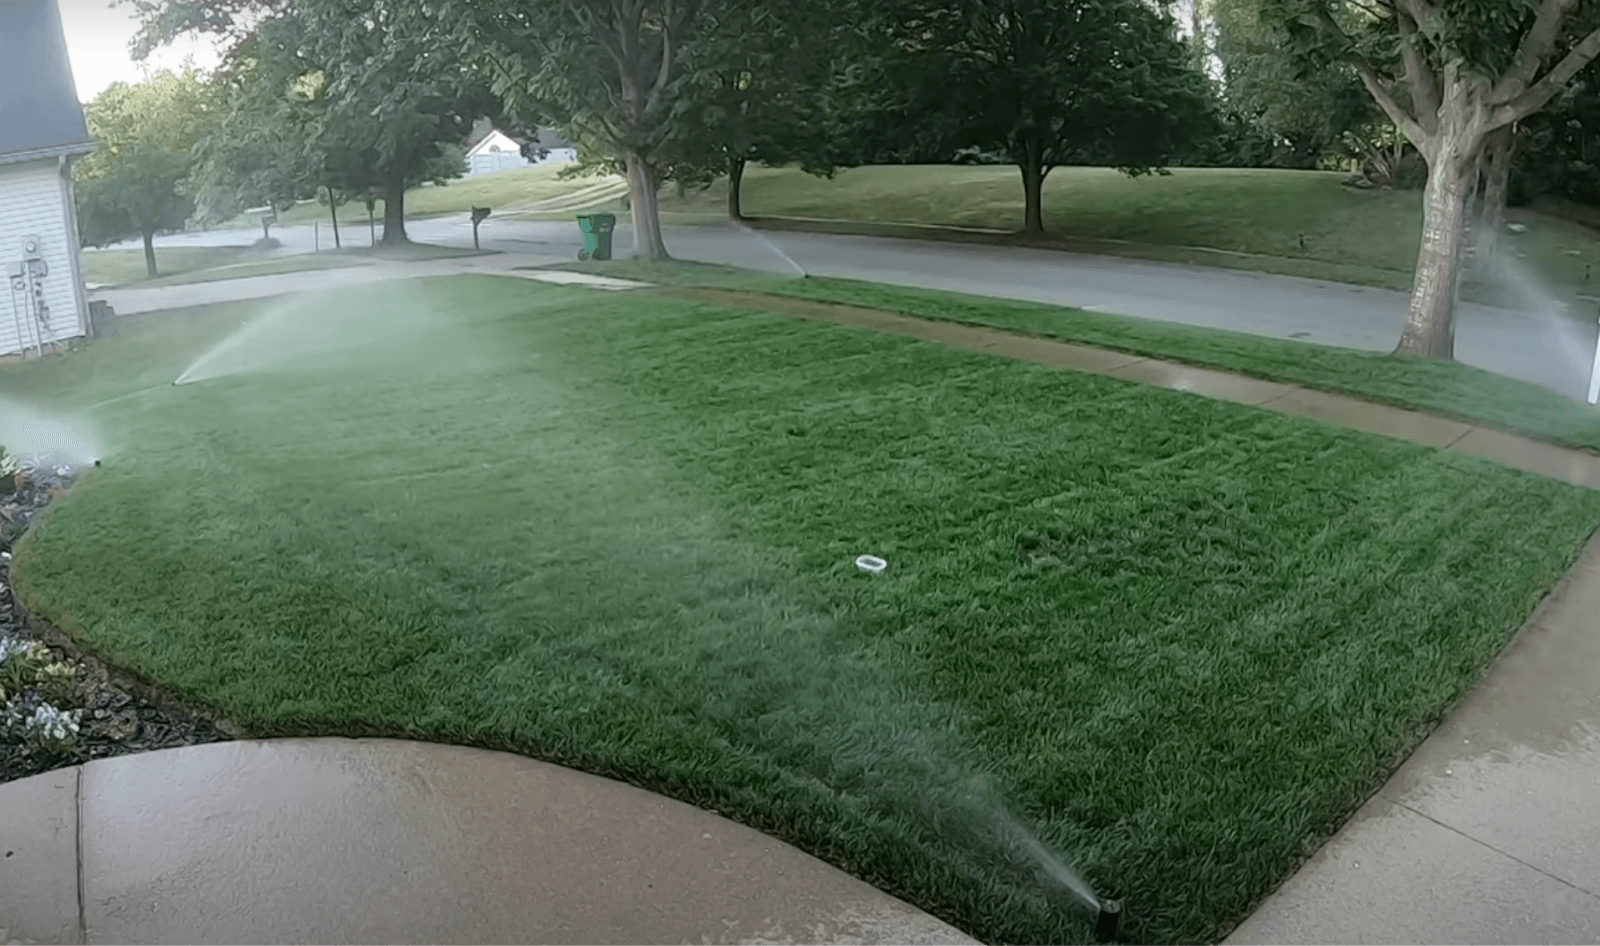
Step 5 – Water In the New Sod
Next, your new sod is going to need watering in. Typically, you want to use twice the amount of water you normally use for a scheduled watering. You need to make sure that the water is able to penetrate through the sod and down into the subsoil.
Step 6 – Keep Off The New Grass
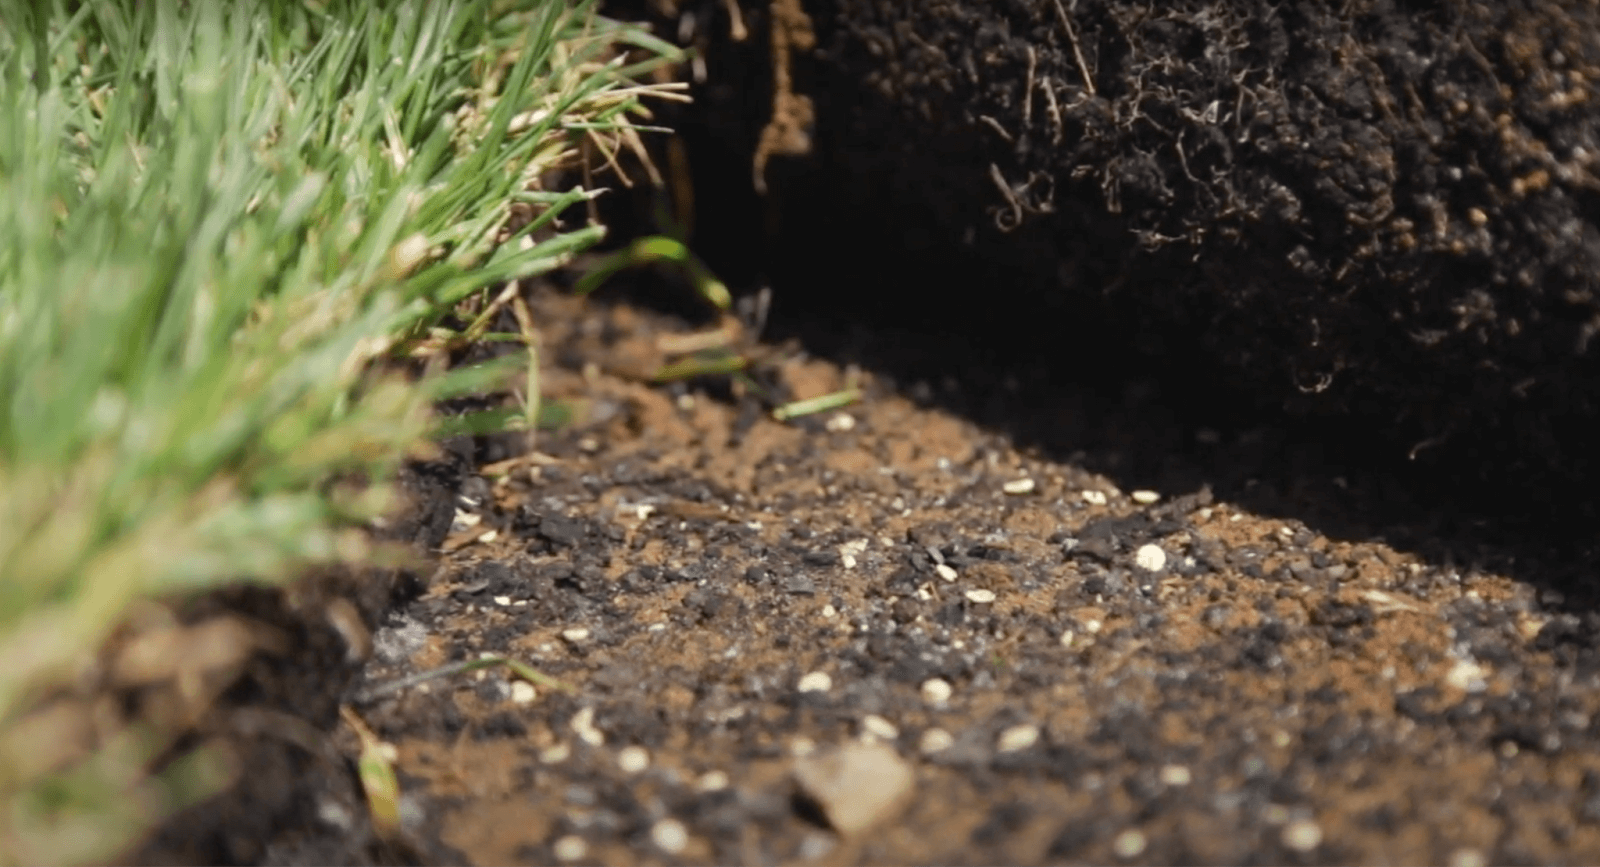
Finally, it’s important to stand back and allow your new lawn to take hold. When new sod is taking hold, the root systems from the sod pieces grow down into the subsoil. Because the new root system is very fragile, keeping off the lawn is a key step to avoid damaging the new roots.
Post Installation Maintenance
- Daily watering for the first two weeks.
- Watering alternate days for an additional week.
- Return to scheduled watering on the fourth week.
- Daily review of root growth and soil moisture – adjust watering accordingly.
- Apply new sod fertilizer on week four.
- Once roots have taken hold & grass is growing, you can resume mowing.
Frequently Asked Questions:
If you’re trying to figure out how to dig up a lawn quickly, the best method is to use a mechanical sod cutter.
Either a manual sod cutter or a hand-held sod cutter is the best grass removal tool if you are aiming for quick, tidy, and uniform results.
There is no need to put anything under the turf before laying new sod unless the subsoil is of poor quality. In this scenario, you will need to achieve at least 4-8 inches of good-quality topsoil.
Yes, the correct way to lay turf is to lay it directly on the soil.
The best base for turf is good-quality topsoil, which has good drainage qualities and is not overcompacted.


